Climbing Kebnekaise is one of the best detours you can add to the Kungsleden, but it is harder than the numbers suggest. The mountain is "only" a bit over 2,000 m, yet the weather, the rocky terrain and the conditions at the top make it a long and demanding day.
We climbed the south peak as part of our Kungsleden trek, on a rainy day with snow at the summit. In this post we share how the climb really is, what route we did, how our day went, and other tips to prepare you for the summit.
The highest mountain in Sweden
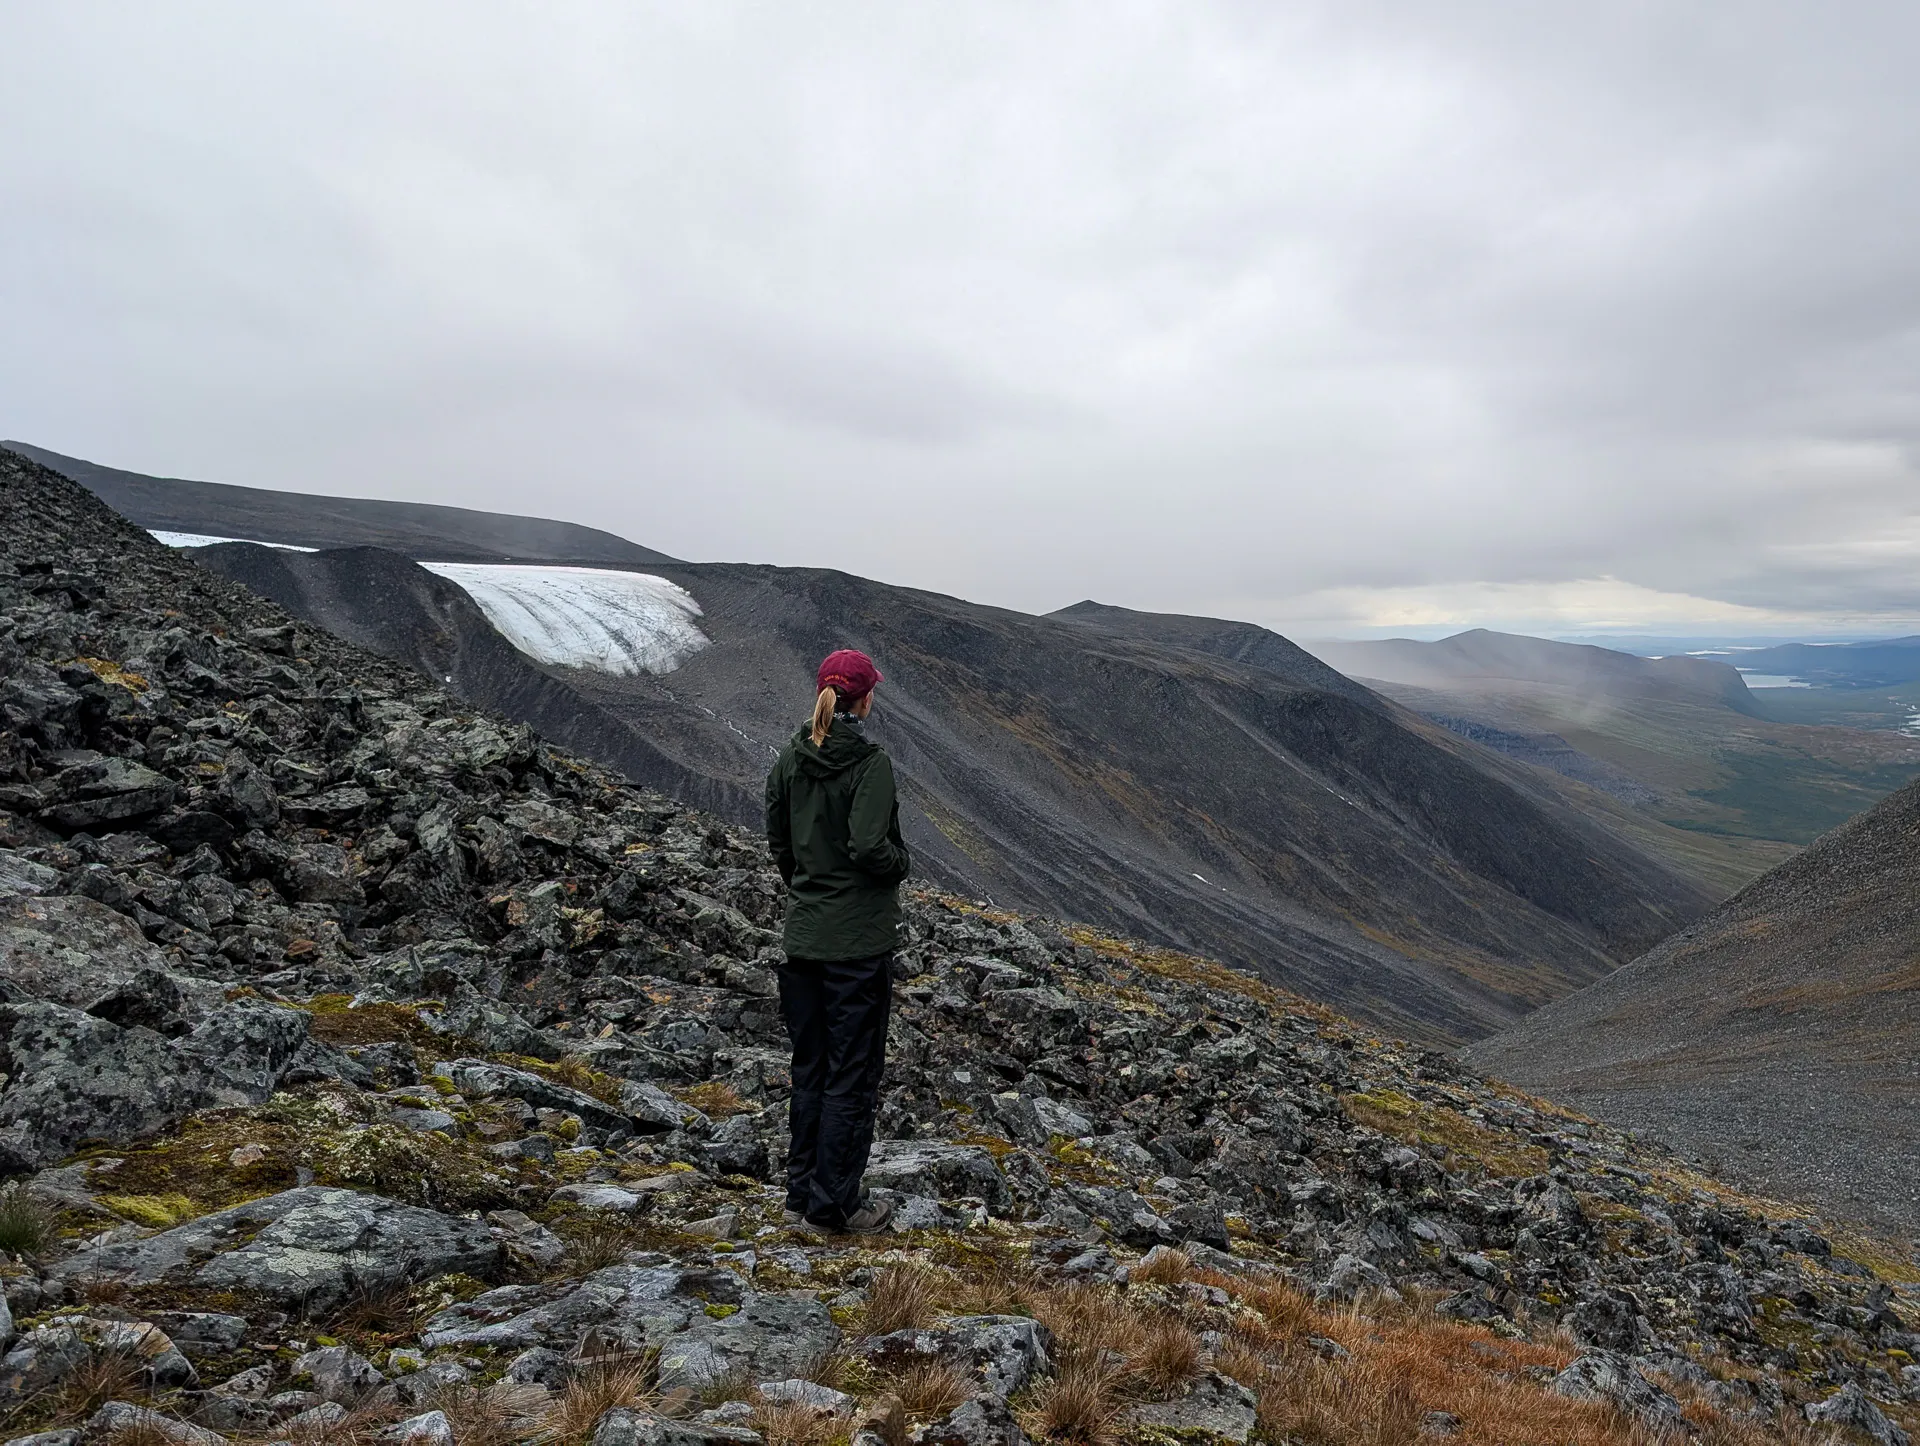
Kebnekaise has two peaks, south and north. For a long time the south peak was the highest point in Sweden. But it is capped by a glacier, so its height changes with the seasons, and the ice has been shrinking for years.
The north peak is solid rock, so its height does not change. It stands at 2,096 m and has been the highest point in Sweden since 2019.
Most hikers go for the south peak, and that is what we did. Reaching the north peak means crossing an exposed ridge, which needs very good knowledge and the right equipment.
The two routes: Western and Eastern
There are two ways up, and both start at the Mountain Station.
The Western route
This is the most common and the safest route to the south peak. It is around 18 km and 1,800 m of elevation gain for the round trip. The official estimate is 10 to 15 hours, so plan for a very long day.
Nothing here is technical, but it is harder than it looks on paper. The terrain gets rocky and steep, there are snow and ice patches near the top, and part of the elevation comes from a descent in the middle that you have to climb back. That is why it feels more than the numbers.
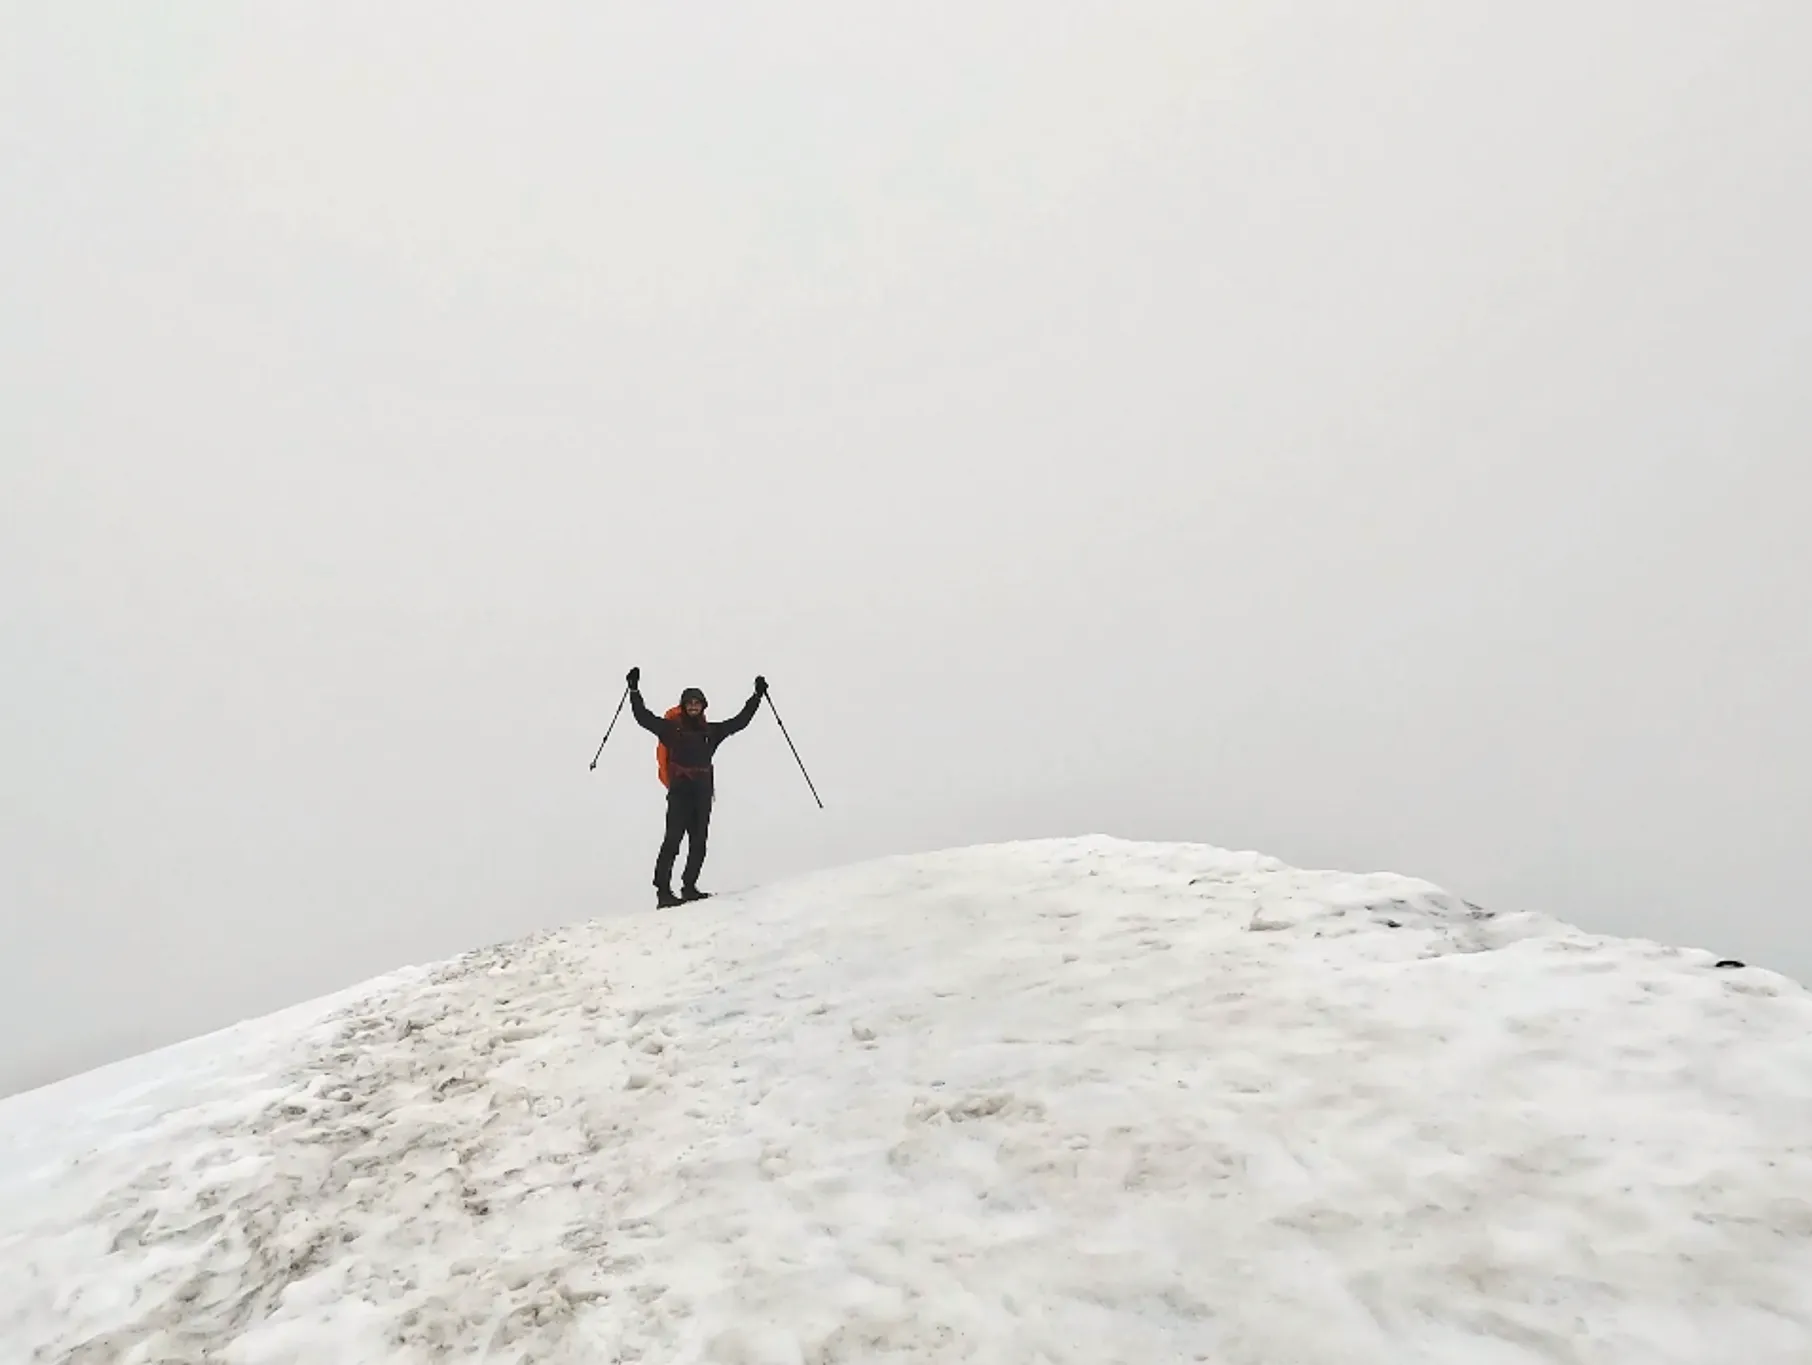
The last part is a snow field of around 200 m, with no trail marks and a very narrow path. Be careful there. We did not use crampons, but it depends on the year and on how much snow has melted. Check conditions at the station before you go. If the summit snow has melted, crampons are needed, and the top is narrow, steep and exposed.
The Eastern route
This one is a bit shorter but much more technical. You cross the Björling glacier and snowfields, and climb a section with via ferrata. Rockfall and crevasses are the main risks, and conditions change a lot from year to year. When we were there, this route was closed for safety reasons.
If you are not an experienced climber with glacier skills, do it only with a guide. STF and certified mountain guides run tours from the station, with the equipment included.
What about the north peak?
To reach the north peak, you need to cross the exposed ridge from the south peak. It is not for beginners. Unless you are used to this kind of terrain and have the gear, go with a guide.
Our climb on the Western route
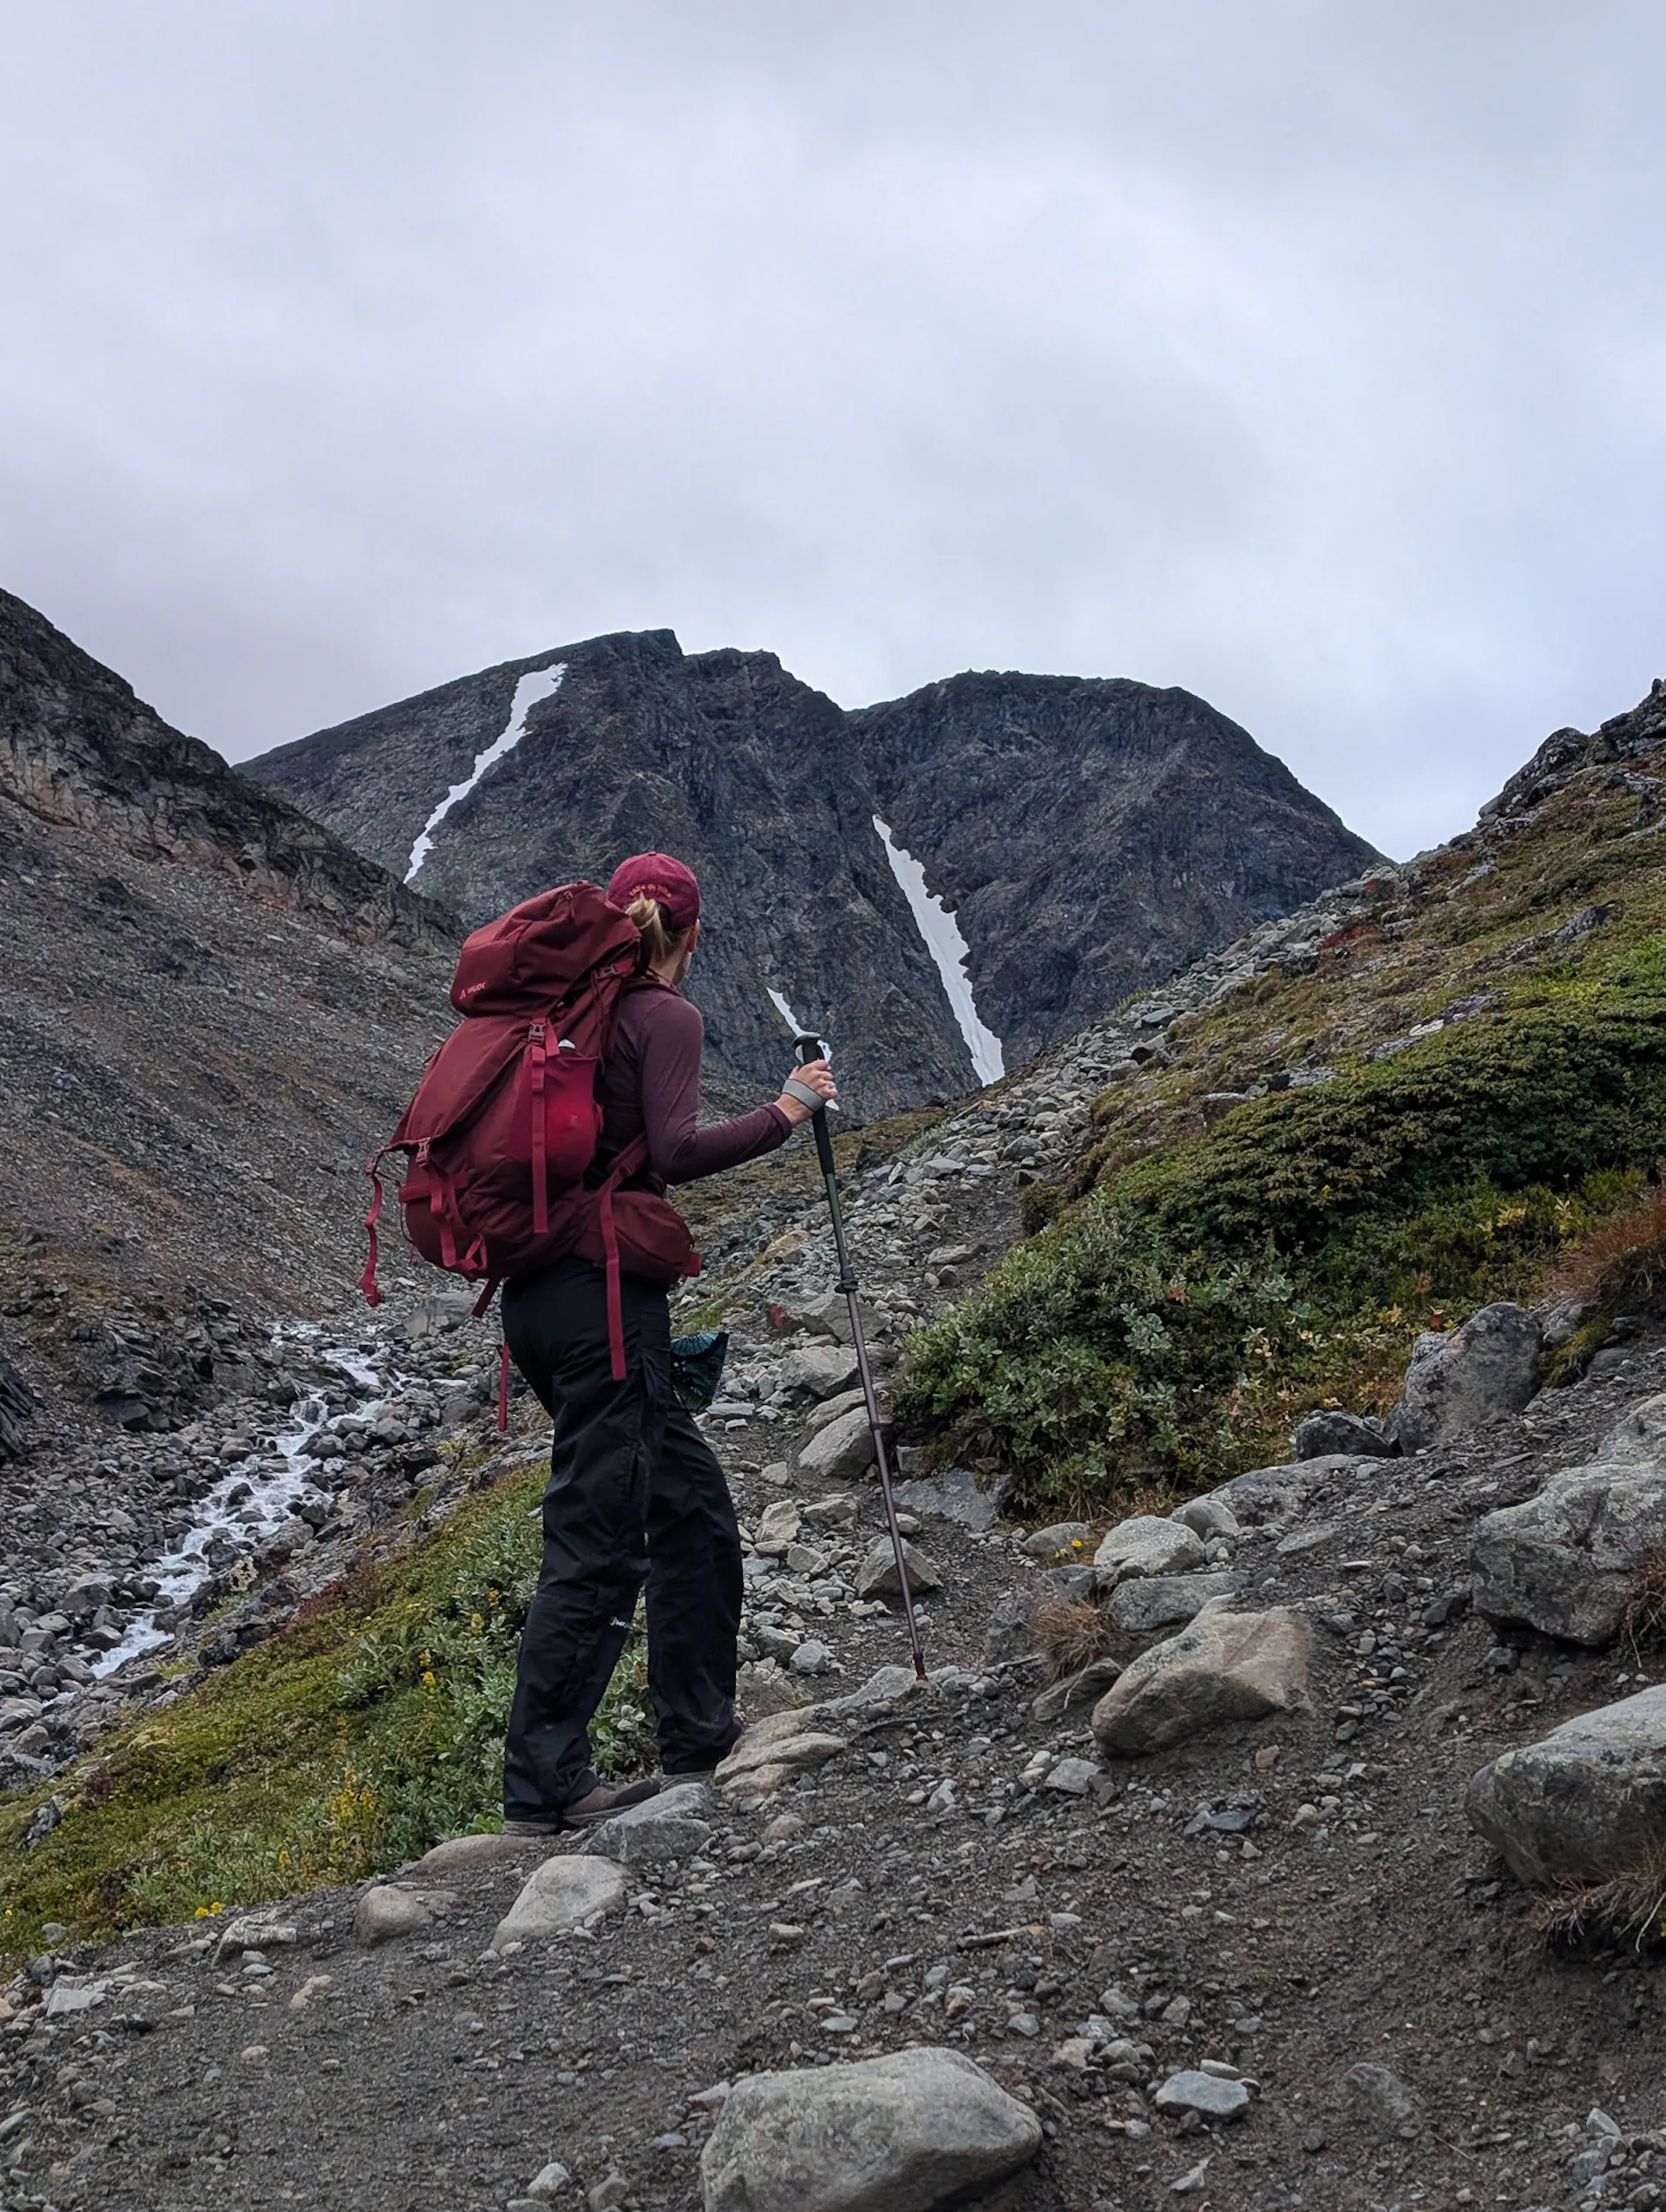
The first part is 4km on a steady climb on stable ground, until the rocky terrain starts. You cross a few streams, which are good spots to refill water. The streams get stronger in the afternoon, so another reason to start early. Don't cross barefoot, because of the risk of hurting your feet on the rocks. Hiking poles help a lot here.
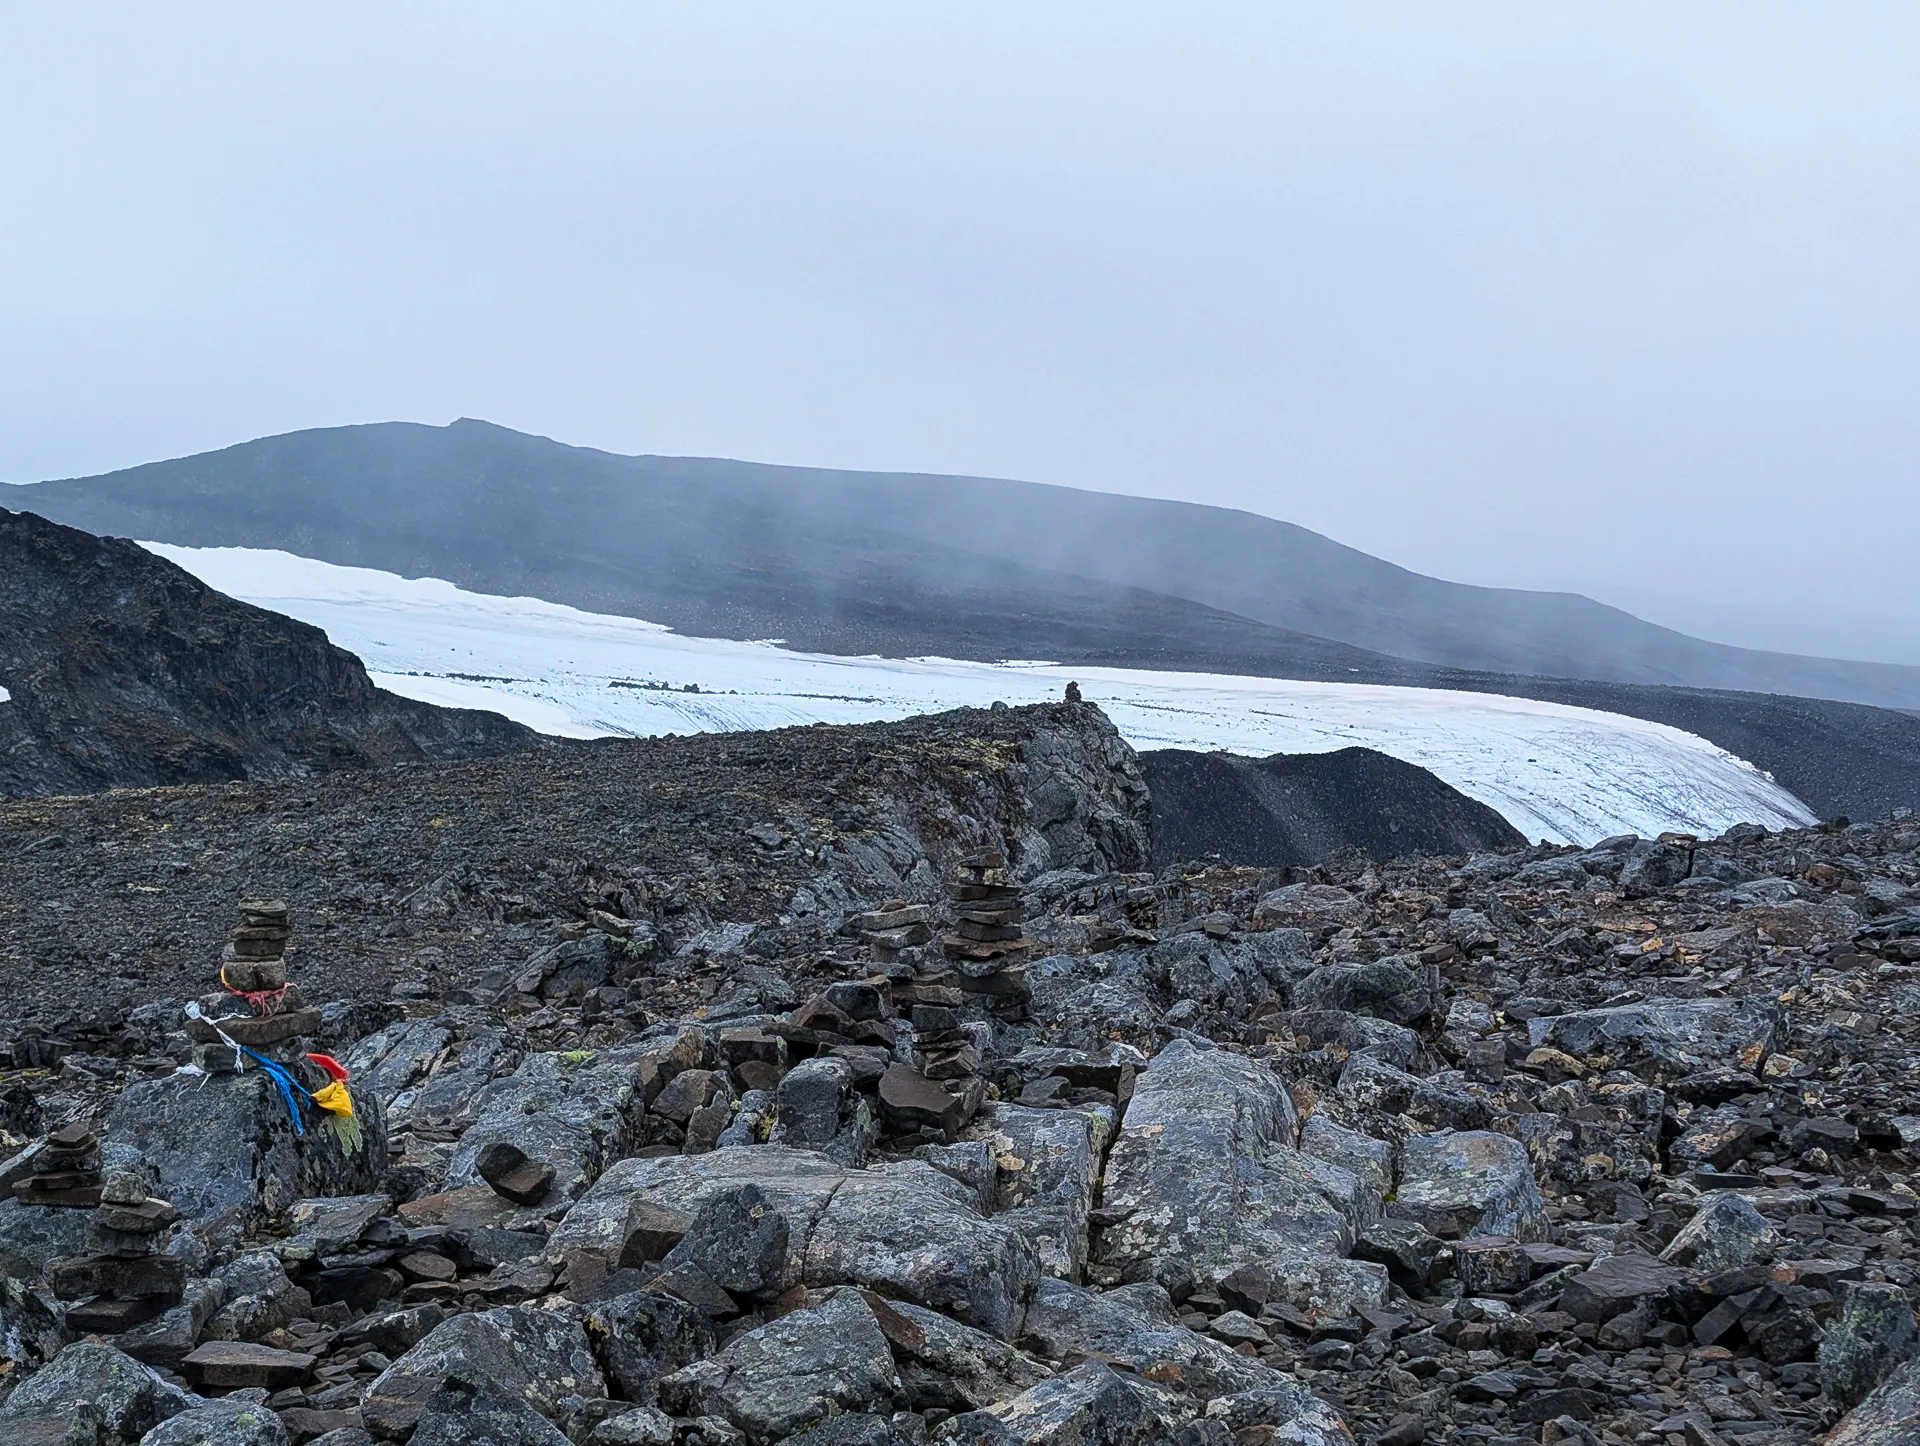
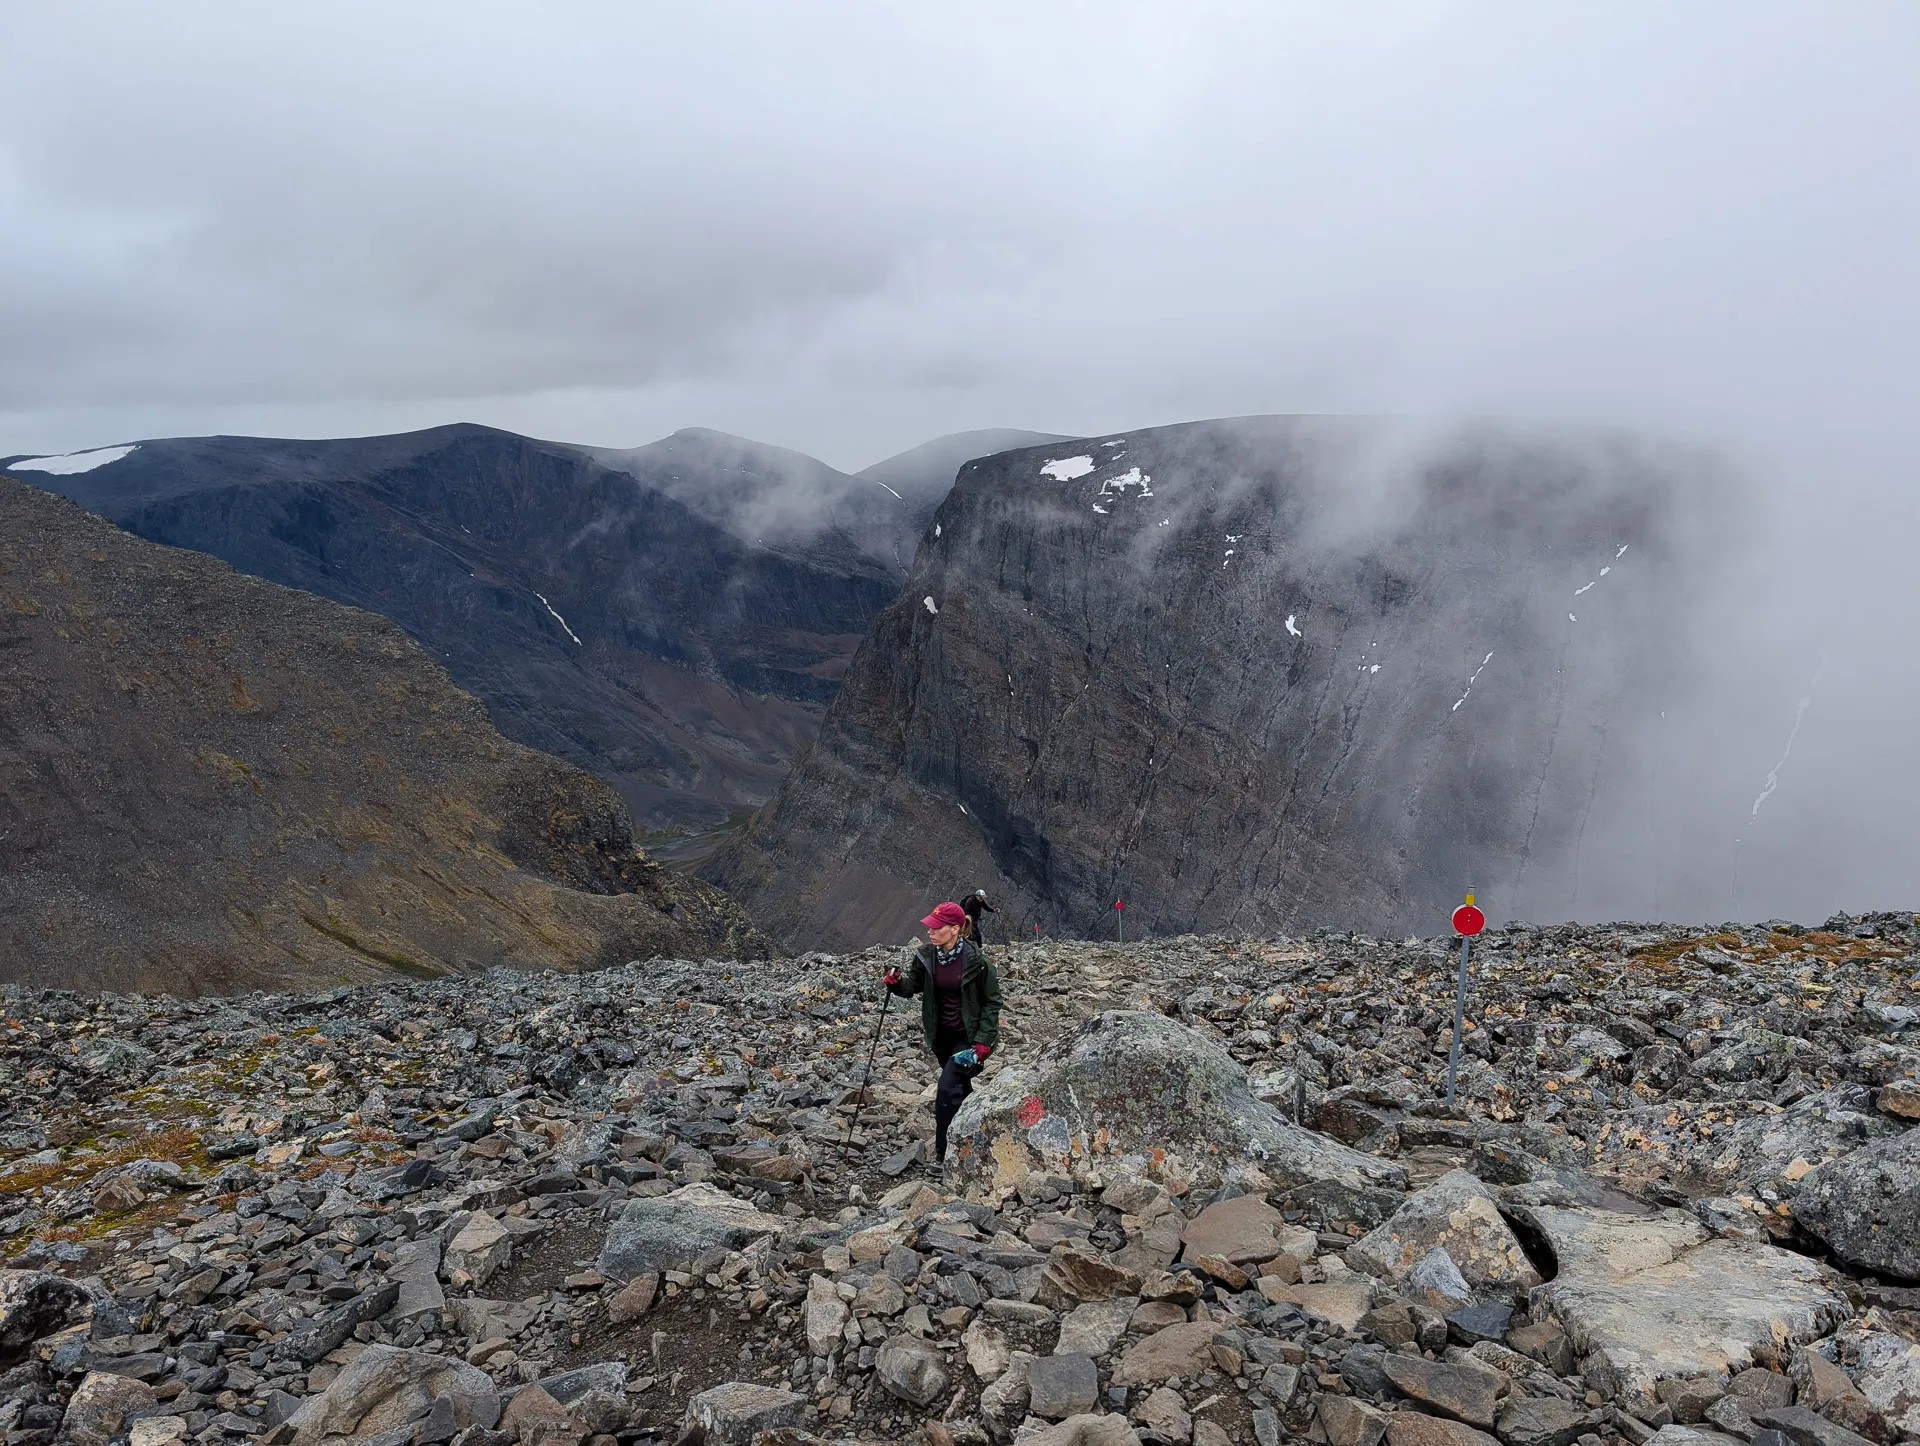
After about 4 km you reach a bridge built by Sherpas from Nepal over a stronger stream. This is your last opportunity to get some water along the route. From here the climb gets steeper, helped by a long stone staircase also built by the Sherpas. Above this point the terrain becomes even harder and rocky, and visibility can get worse. The climb is marked with red-painted stones and cairns, and higher up there are aluminium poles with red reflectors. Keep checking you are still on the path. You pass Mount Vierranvárri, a first peak at 1,706 m, and then comes the part that frustrated us, a descent of 200 m, before you start climbing again on steep, rocky terrain. It is a bit painful to lose height you worked for, but it is part of the route.
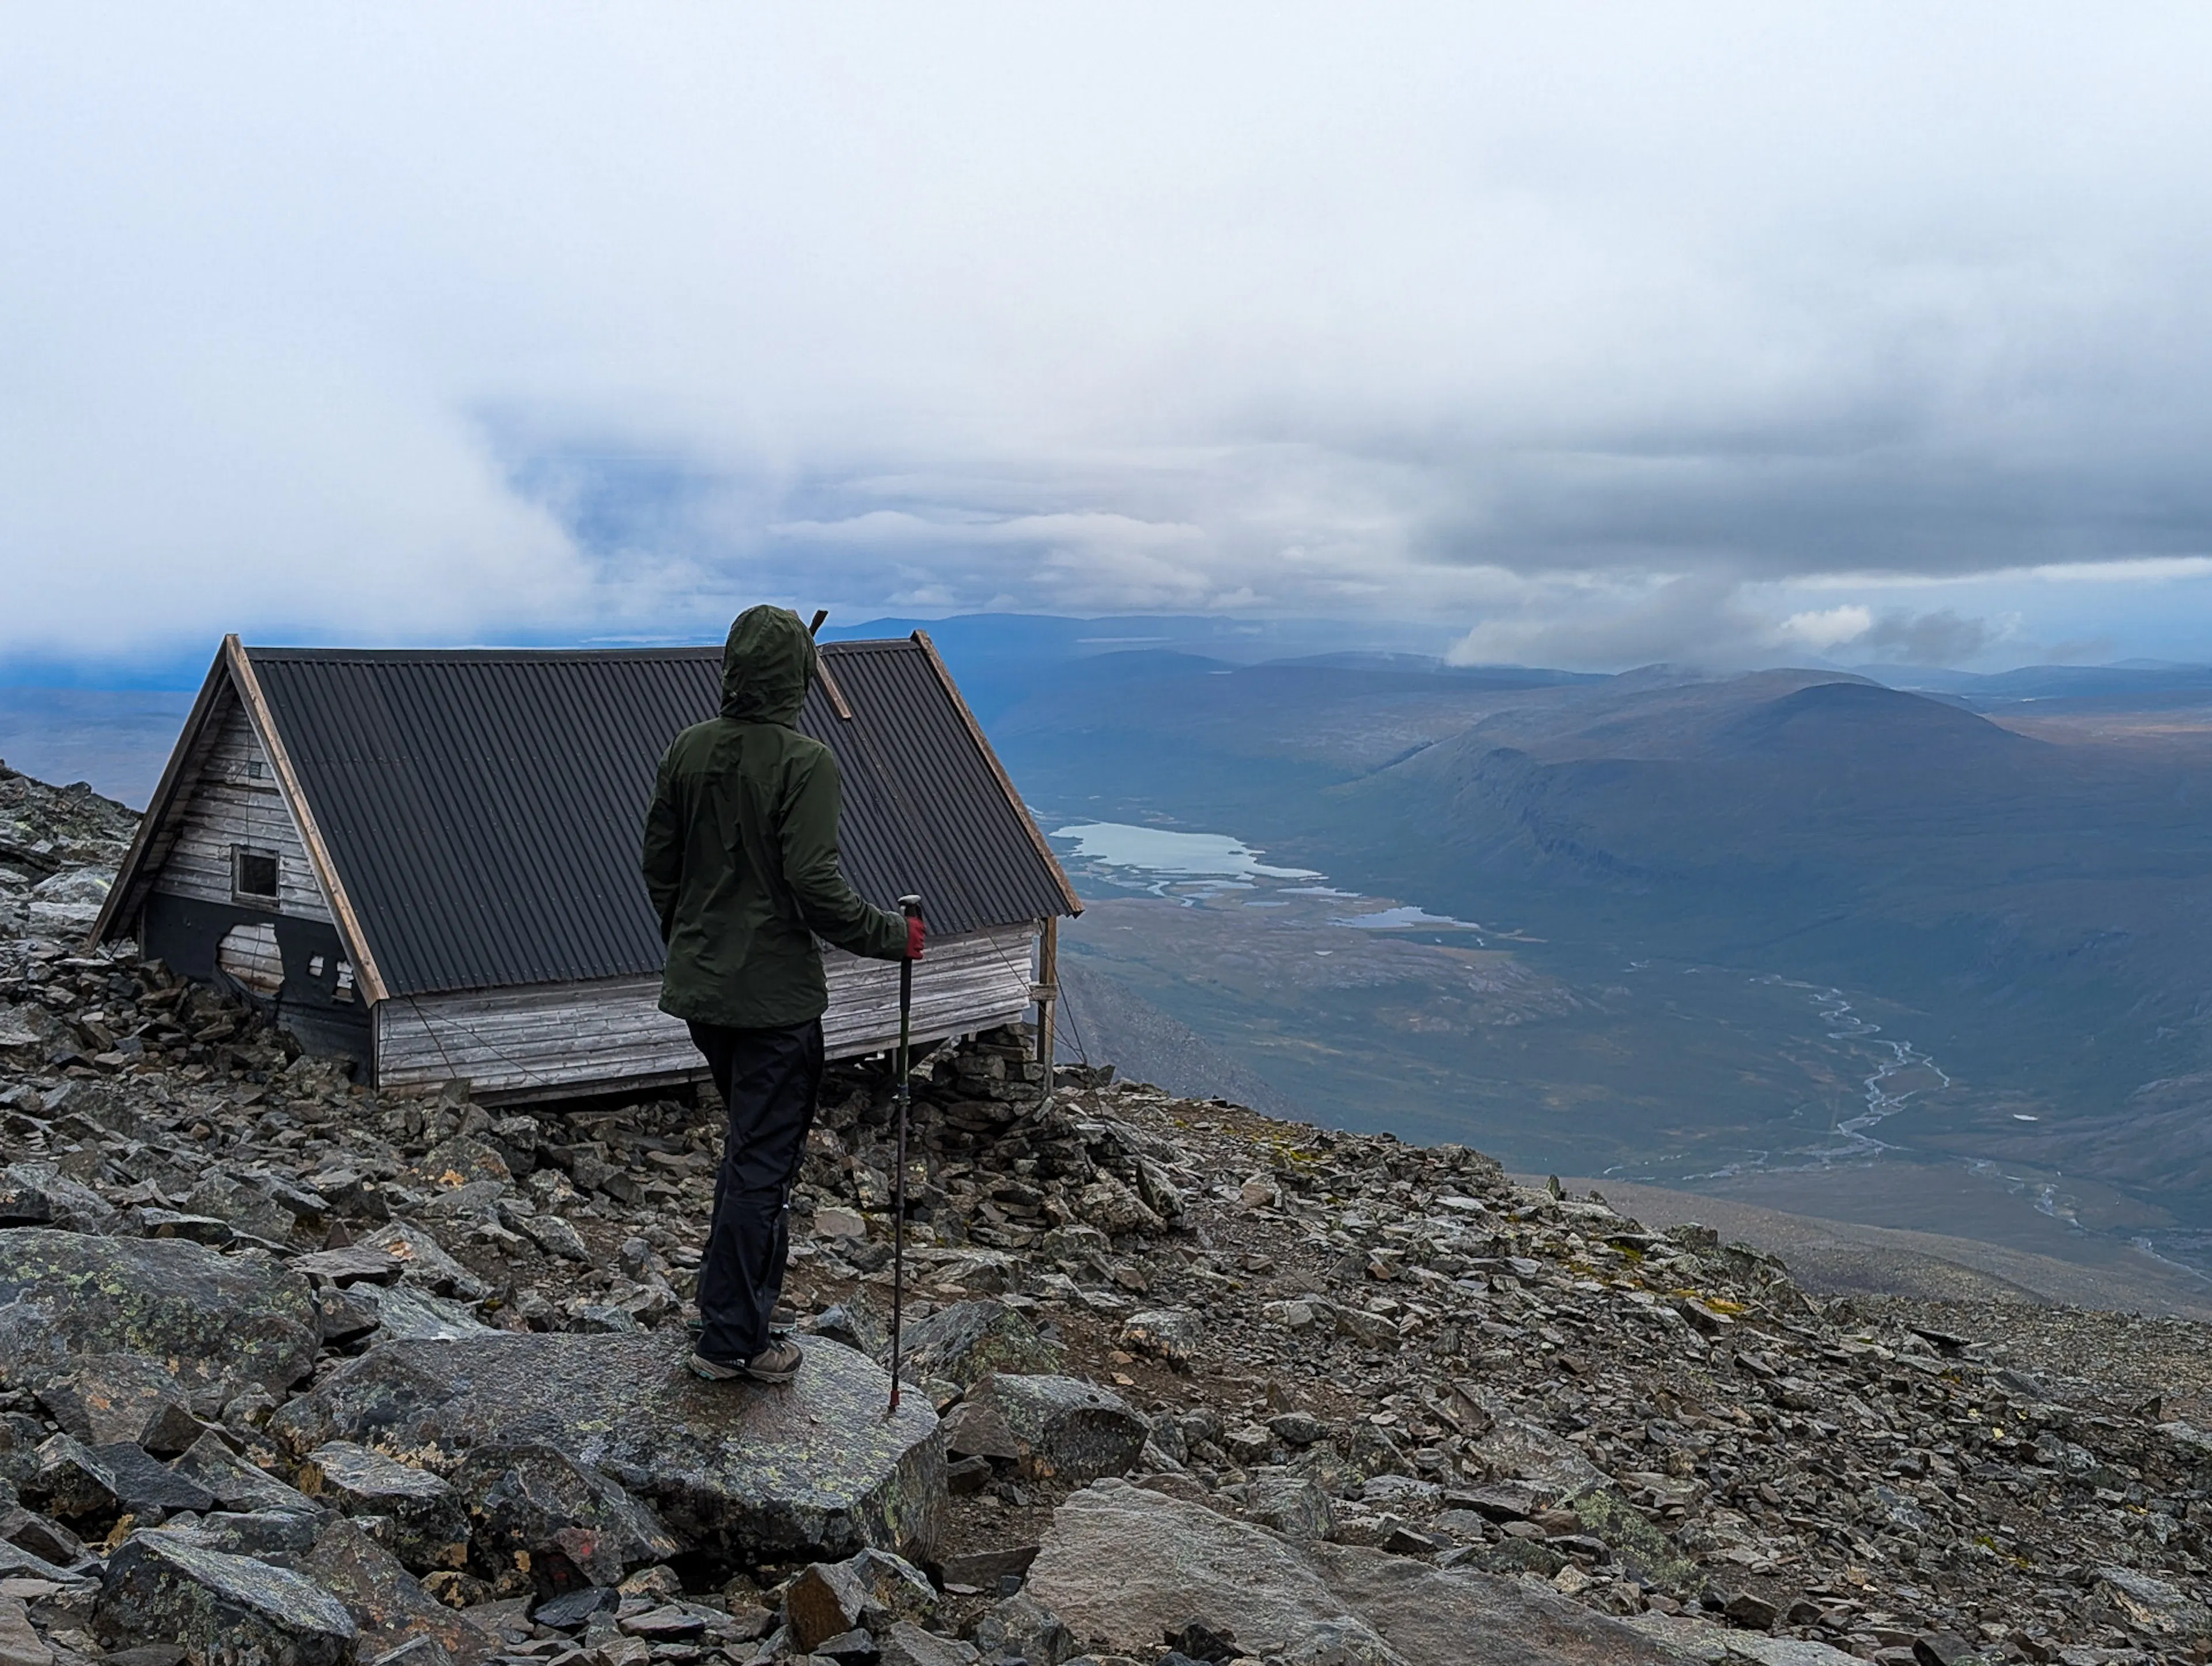
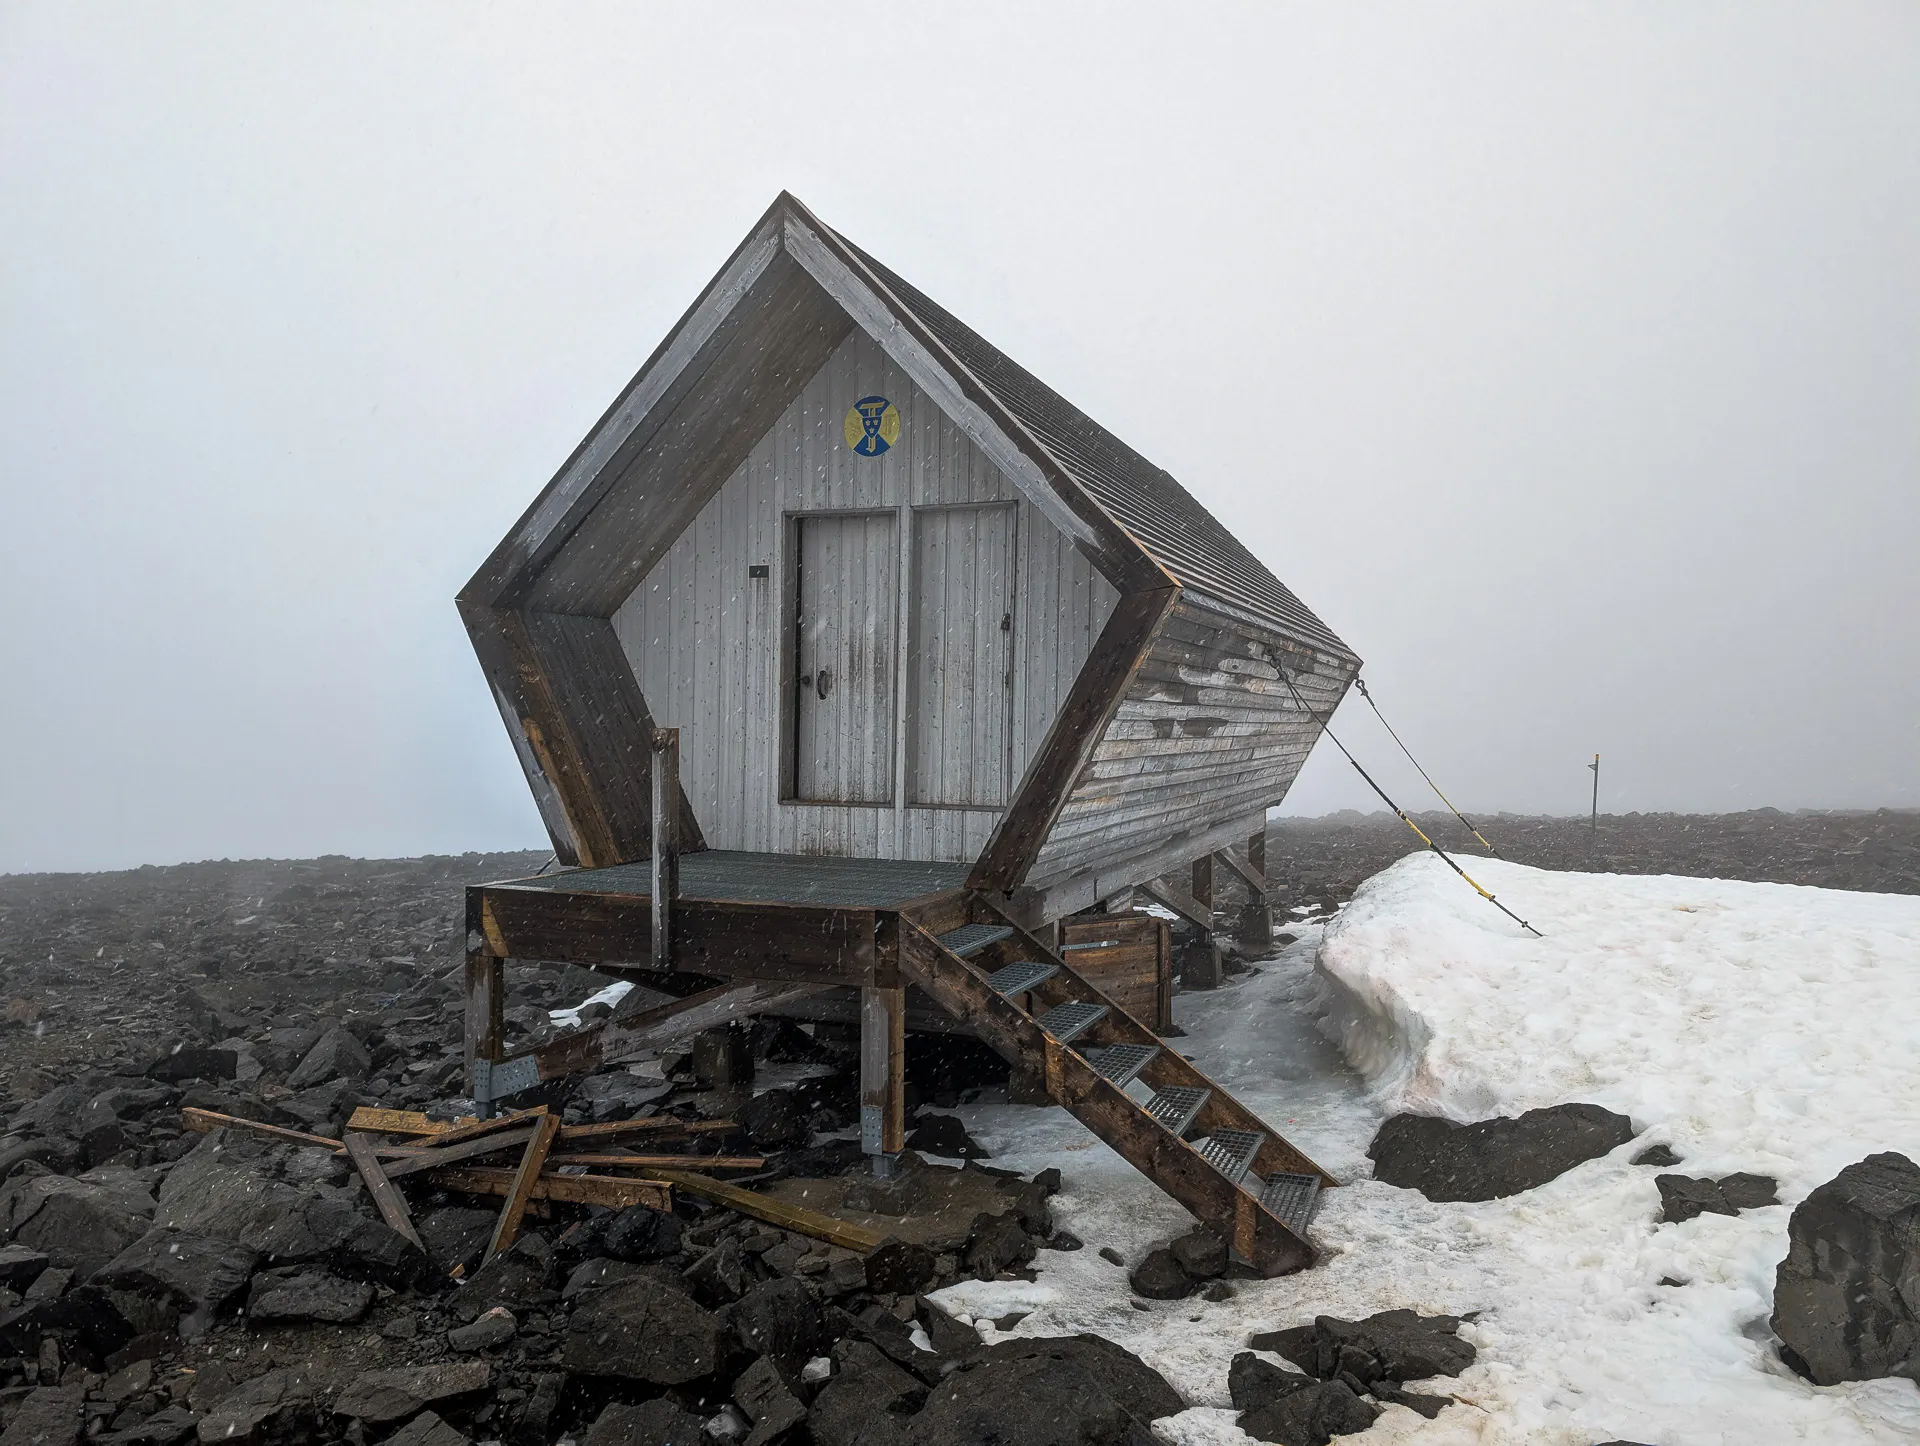
After the second climb, there is an old hut at about 400 m of climbing, with a view down to the valley. Another 200 m of climbing and you pass the emergency shelter, where the summit glacier starts. From there, there are no signs or poles anymore, so you need to look for the way with more caution.
There is no sign or pole marking the very top. You keep walking until you see the descent towards the snow ridge that connects to the north peak. That is the summit of the south peak. On the way back, we used the emergency shelter to change clothes, eat and recover before going down. We recommend doing the same.
Getting to the Kebnekaise Mountain Station
Both routes start at the STF Kebnekaise Mountain Station, so this is where you set your base.
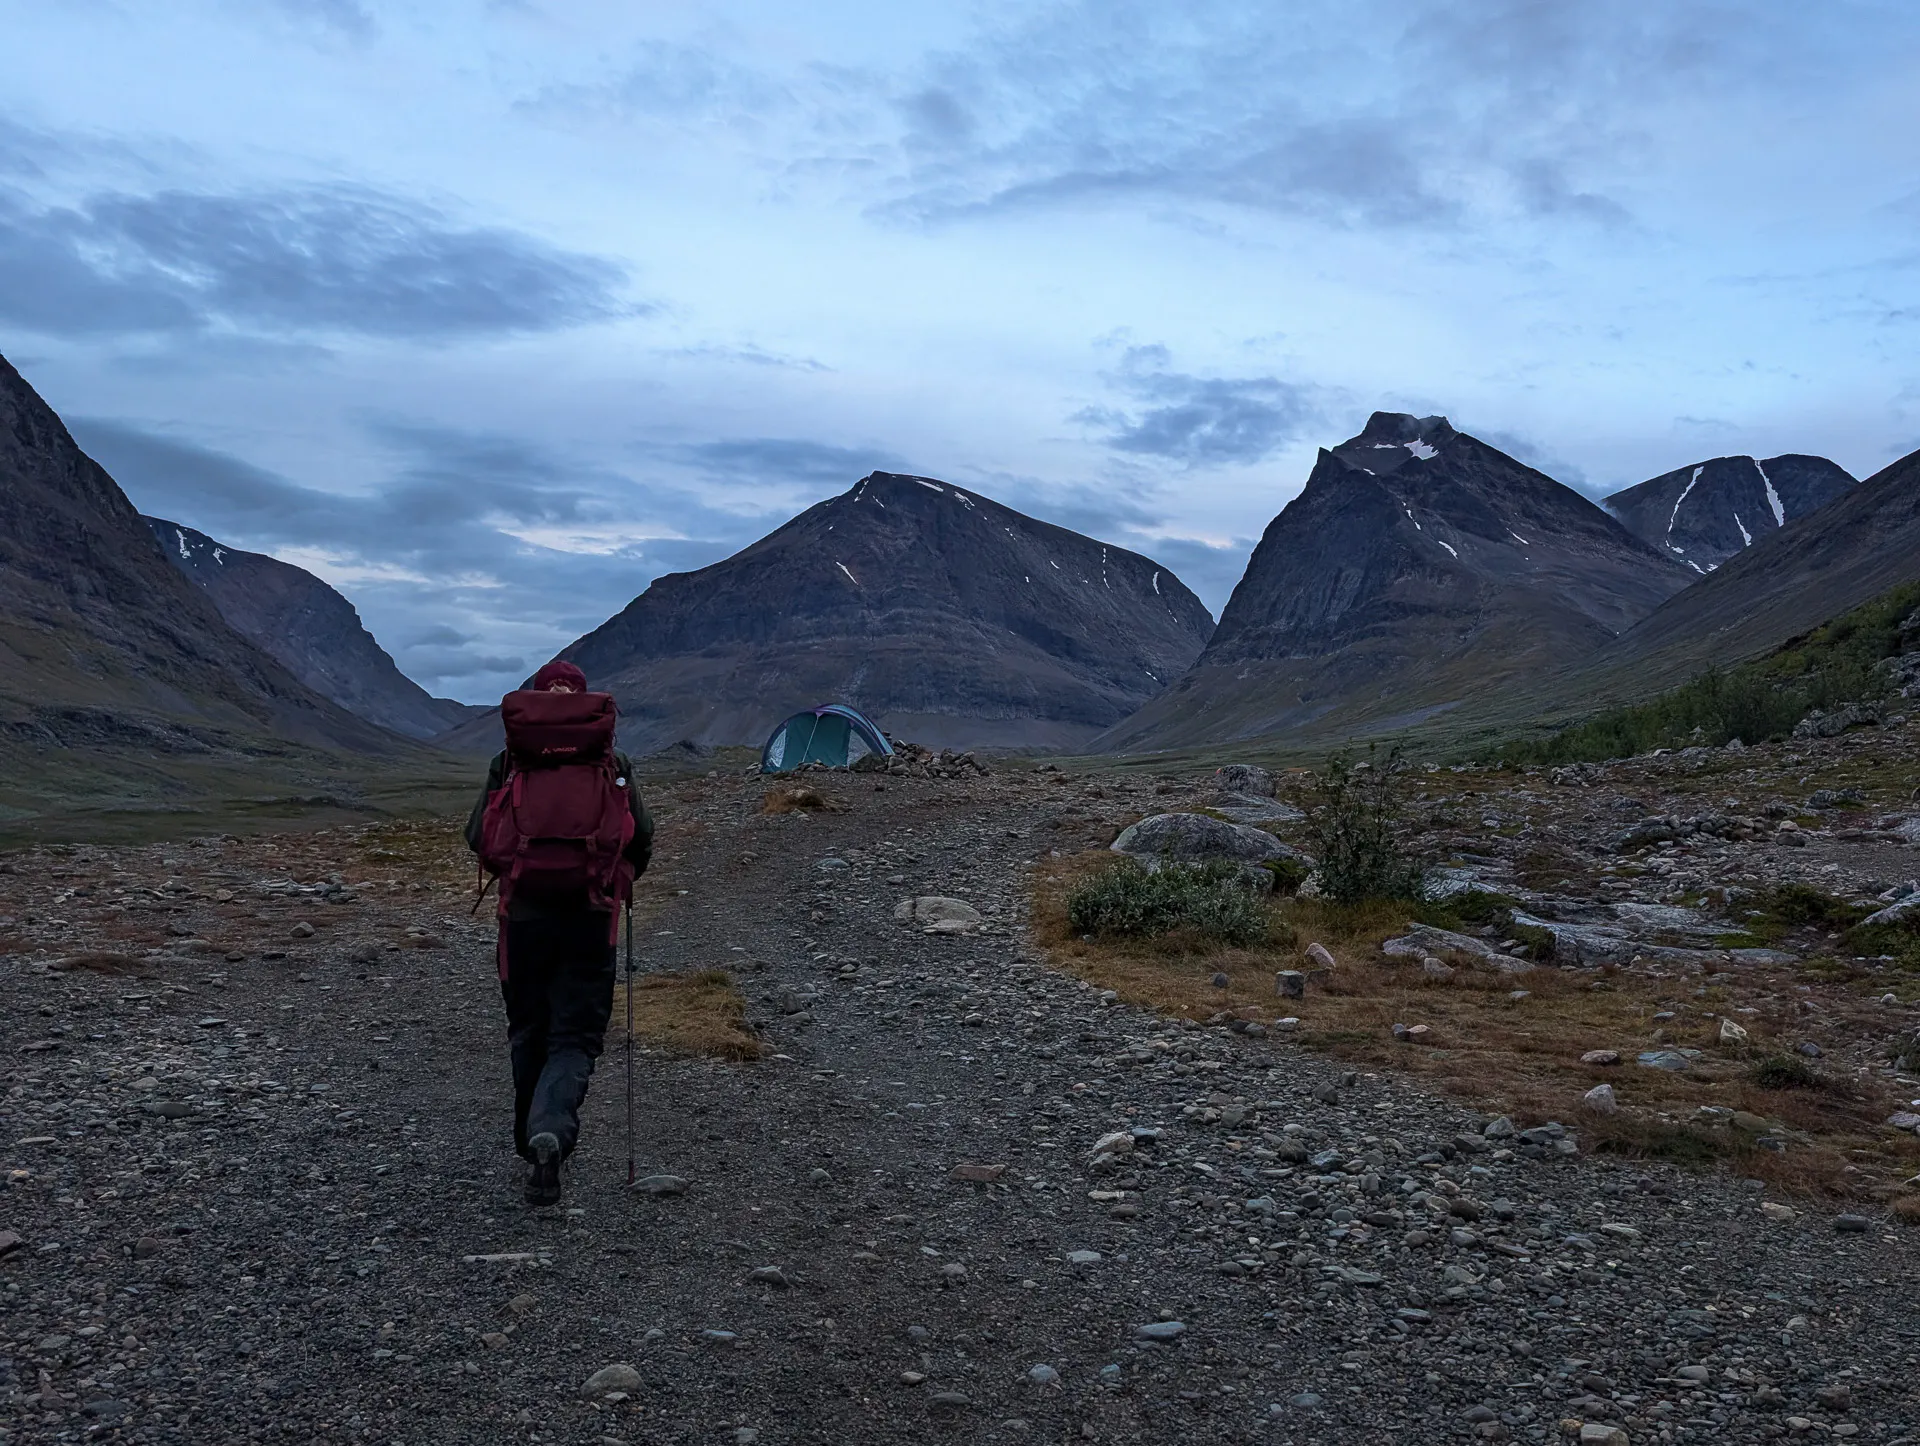
We were walking the Kungsleden from south to north (Vakkotavare to Abisko), so we added a detour from the Singistugan hut to the station. If you only want to do the peak, the usual way is to start in Nikkaluokta. From there it is 19 km to the station, around 6 to 8 hours on foot. There is also a boat across the lake that saves about 6 km, and runs several times a day in summer.
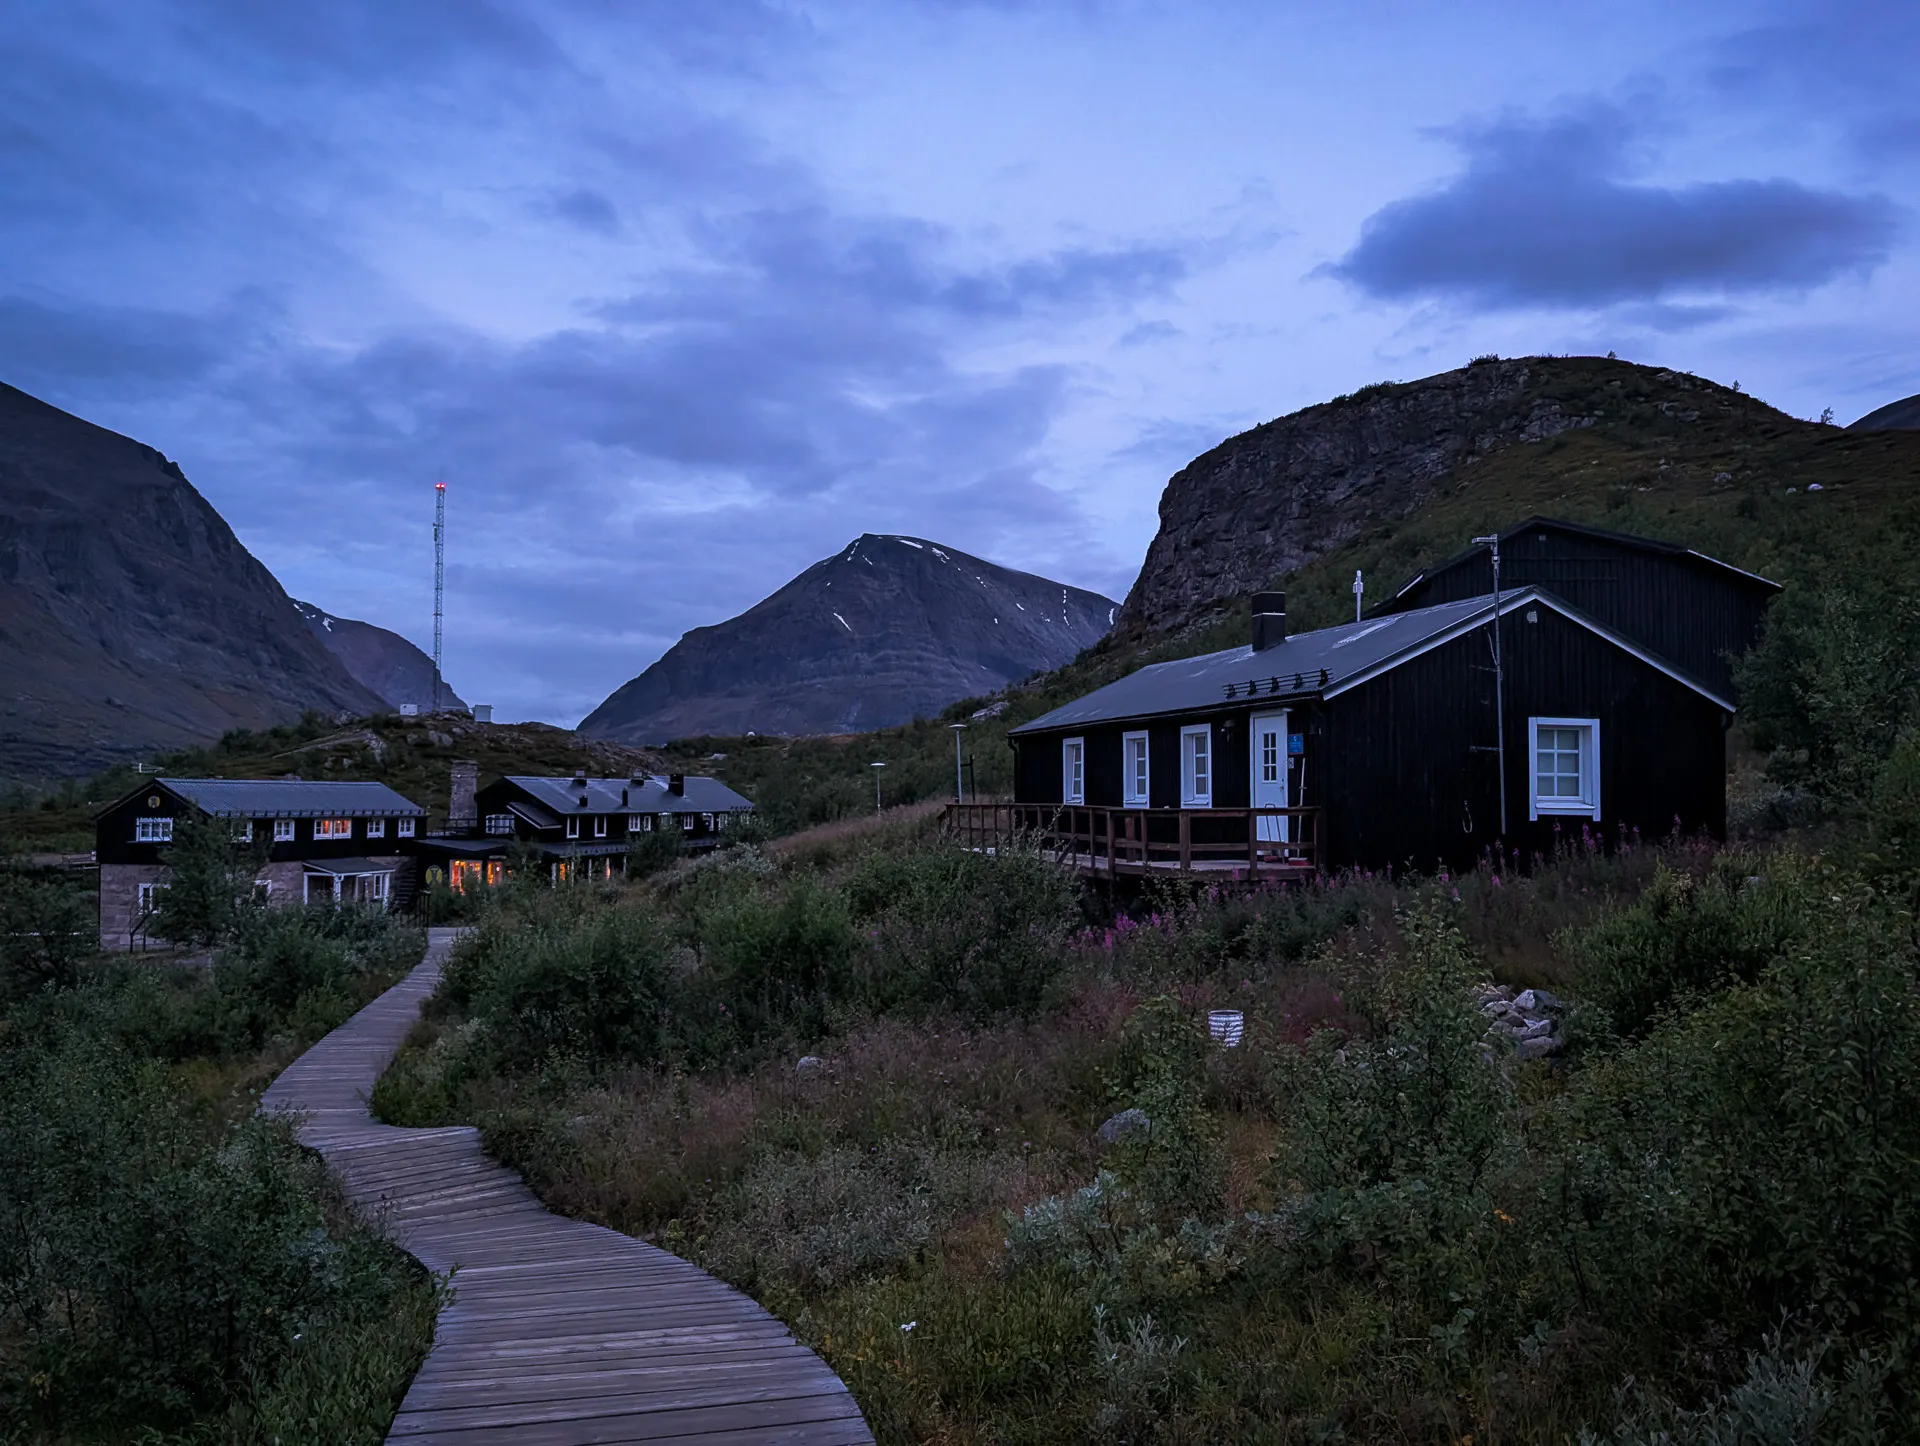
The Mountain Station is a great base. It has a restaurant, rooms and cabins (around 200 beds), a campsite, a shop, and a sauna. It is also where you find guides and tours, so if you don't feel safe going alone, you can sort it out right there.
Weather and safety
We stayed only 2 nights at the station, which gave us one full day to try the summit. Honestly, that was a bit tight. Most people keep up to 3 days free, especially if they want a chance of a clear view from the top.
Even when the sky looks clear from the valley, the top can be in the clouds, and conditions change very fast. At the station you can check the daily forecast for both the valley and the summit. If you are not sure what to expect, ask the staff or the guides.
Summer, from mid-June to mid-September, is the main season. Snow can stay high on the mountain into July.
Temperatures at the top are often below zero, and rain is common on the way up. On our day it was raining for most of the day, and at the summit it was -2º and the rain turned into snow. Make sure you bring:
- Warm layers and a wind/water proof gears
- Gloves and a warm hat
- A full set of dry clothes to change into at the top. We were sweaty and cold after climbing, so this made a big difference
- Food and drink for a full day of hike
Frequently Asked Questions
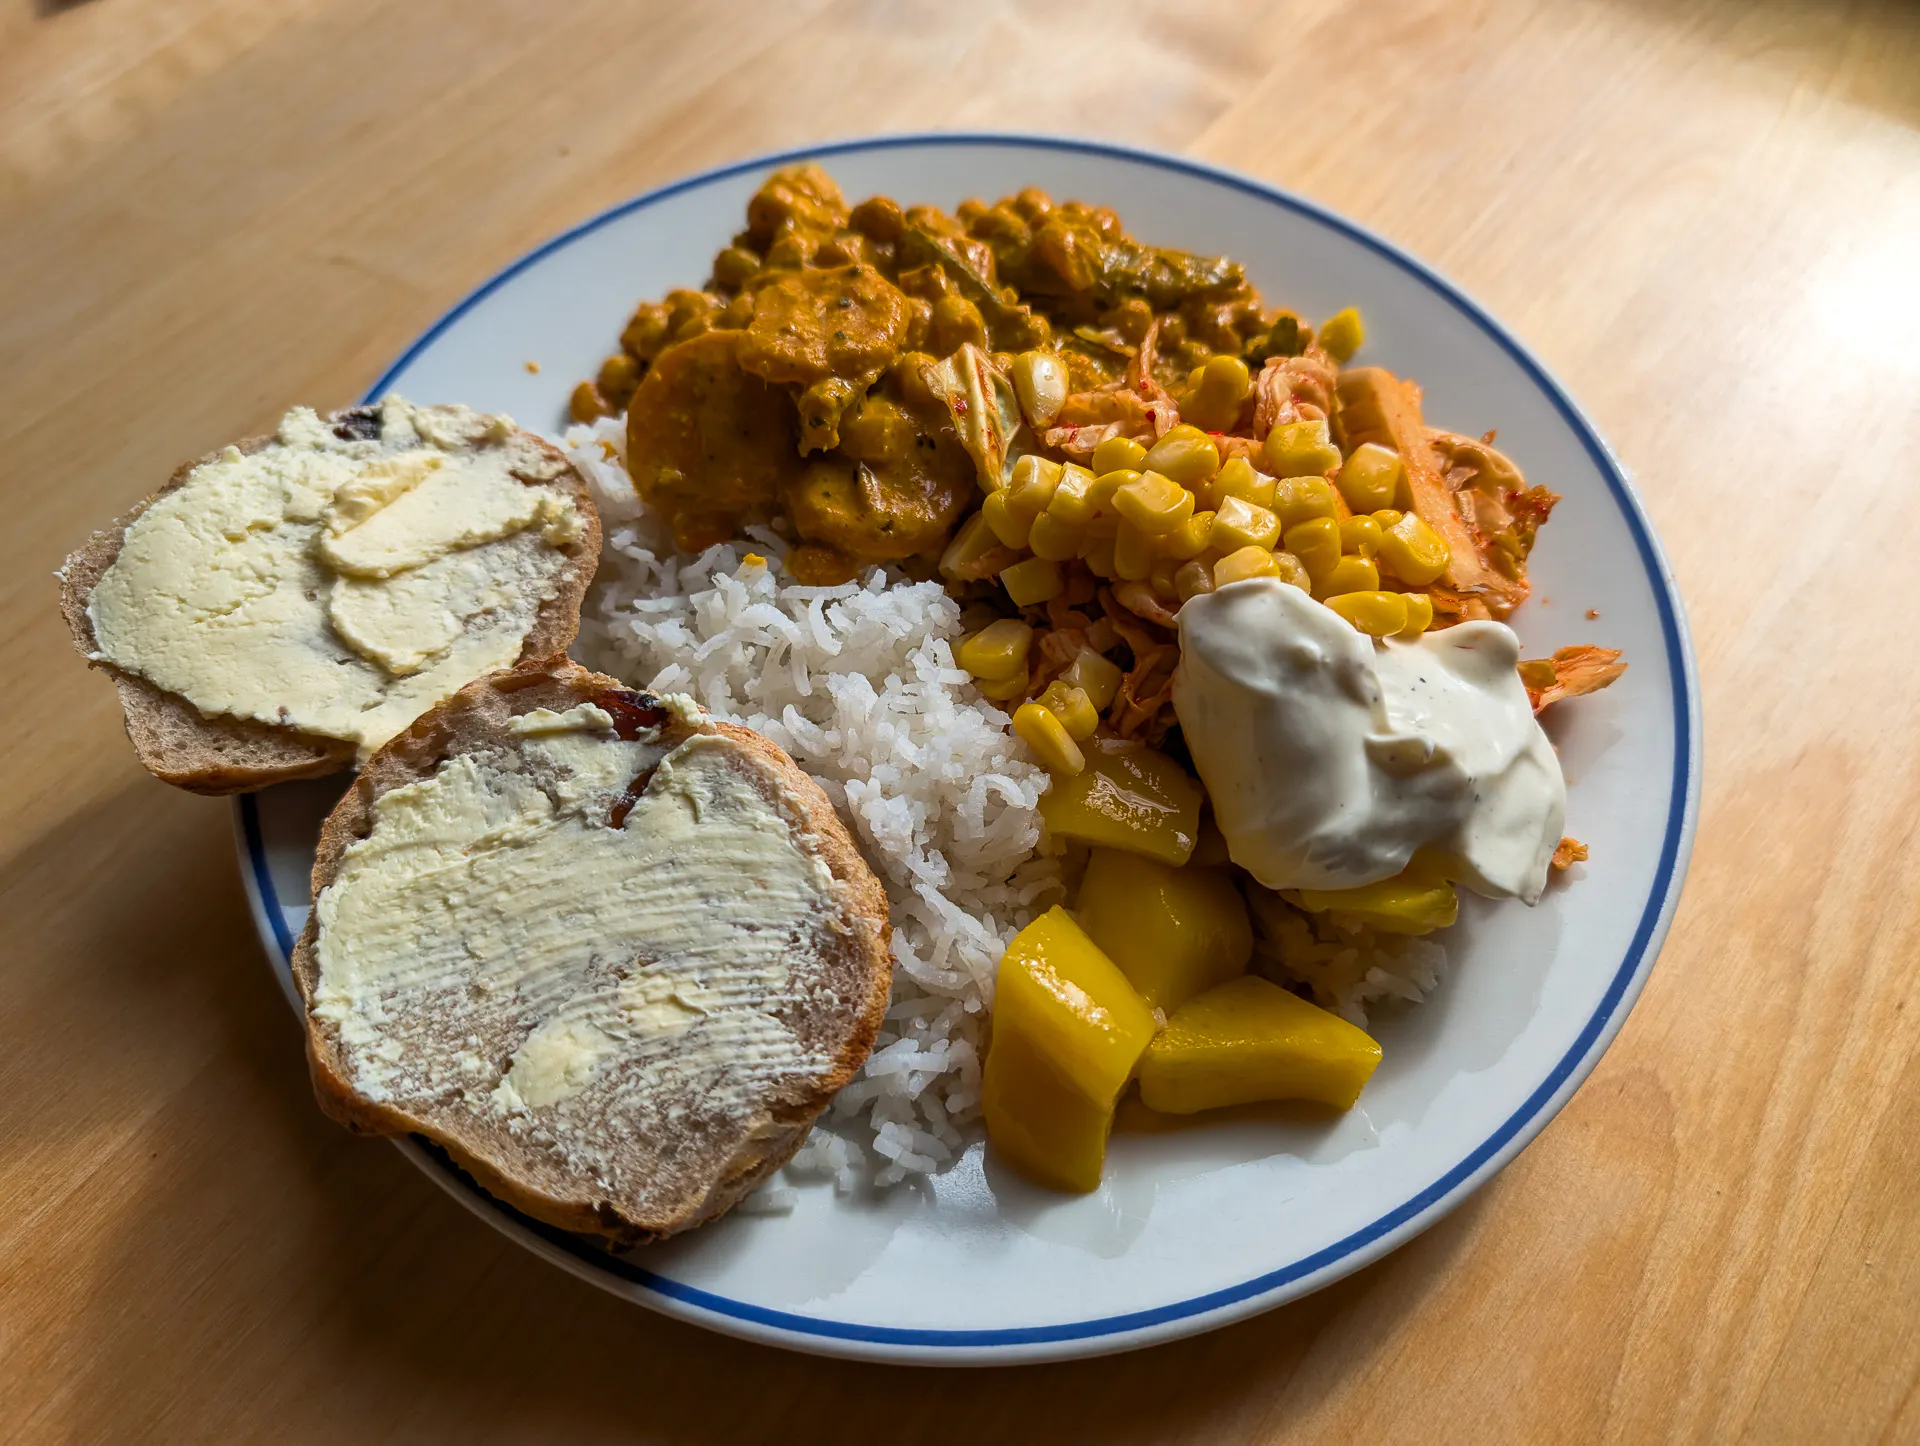
Adding Kebnekaise to our Kungsleden trek was a great experience, and the stay at the Mountain Station allow us to get hot shower, good food at the restaurant, a shop to restock, and some sauna time. The climb itself was very hard, and the conditions were not the best, but reaching the top felt like a real reward. Kebnekaise is an important mountain for Swedes, and you feel that in the area, with hikers from all over the Nordic countries coming for the summit. We celebrated with a hot meal at the station.
Planning to hike the Kungsleden too? Read our trail report for the northern section of the Kungsleden, with an interactive map, elevation profile, stage-by-stage details and other useful info.


